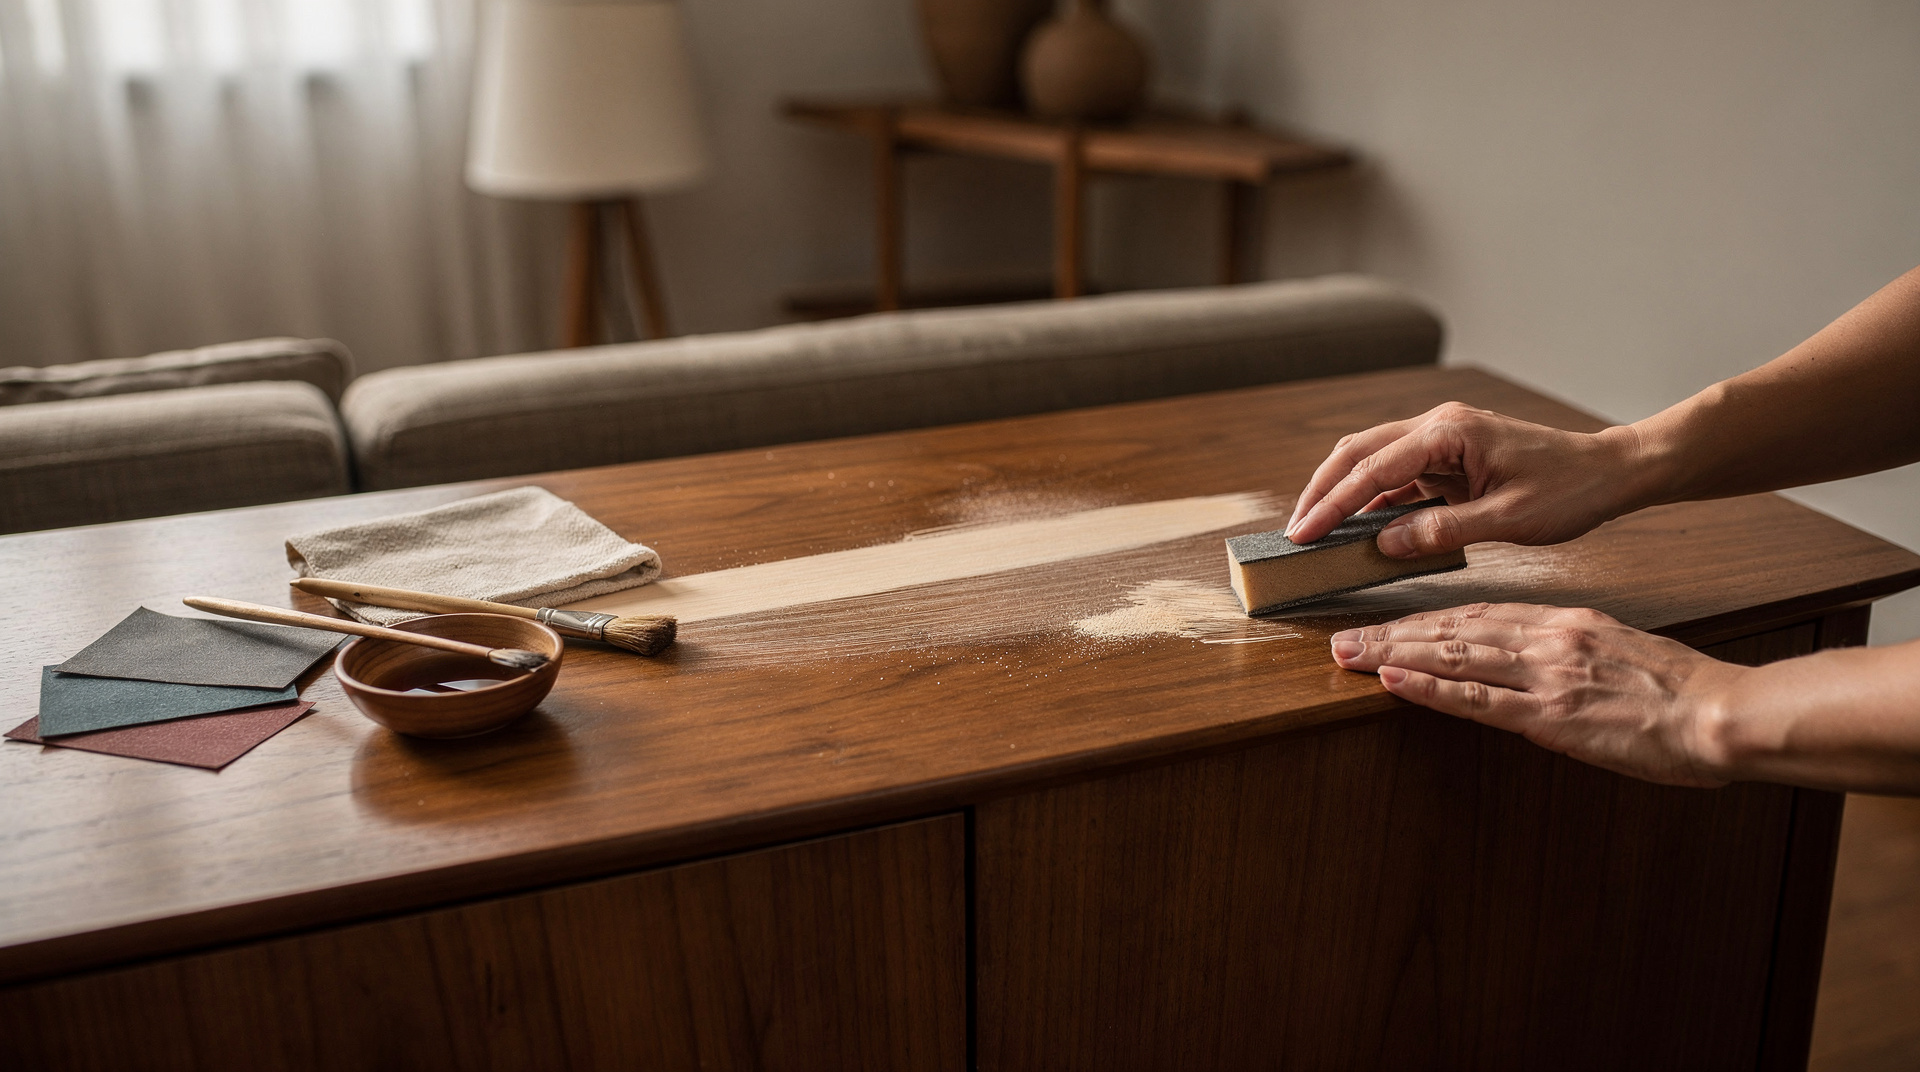
Concealing and sanding scratches: a guide to repairing surface scratches on wooden furniture
Surface scratches on a Mid-Century piece are rarely cause for concern – they are more of an indication that a piece has been lived with. What matters is how you approach them. Anyone restoring a sideboard from the late 1950s is not working on a new surface, but on a historical one. Rosewood, teak, or walnut carry a patina that has developed over decades. Too heavy-handed an intervention can destroy the value of a piece in a matter of minutes, while a considered approach preserves its character and turns the scratch into something inconspicuous.
The golden rule is: as little as possible, as precisely as necessary. Begin with a clean, degreased surface and a strong, raking light source that makes the scratches visible. First, distinguish between purely surface scratches in the shellac, oil, or lacquer layer and deeper gouges that reach into the wood itself. The former can often be closed with a polish, a touch-up pen, or a fine wax refresh. For deeper damage you will need sandpaper in graduated grits – typically from 240 through 320 to 400 – and you sand exclusively along the grain, with even, light pressure. Particular care is required with veneered surfaces (the norm with Mid-Century furniture): veneers from the 1950s and 60s are often only 0.6 to 0.9 millimetres thick, and older ones even thinner. A belt sander has no place on these surfaces. After sanding comes aftercare with the product that matches the original treatment: teak oil on oiled surfaces, shellac on shellacked ones, hard-wax oil only when you are certain it is compatible with the existing finish. Apply in thin coats, allow each coat to dry fully, and buff between coats with a lint-free cotton cloth.
Characteristic materials
The material palette of Mid-Century Modern is manageable, but each wood species demands its own approach. Teak from Southeast Asia was the signature wood of Danish Modernism, prized for its oil content, dimensional stability, and warm honey-to-caramel tone. Teak was traditionally not lacquered but oiled or soap-treated. Scratches can often be evened out here with pure teak oil and fine steel wool (0000) along the grain. Rosewood – above all Rio rosewood (Dalbergia nigra) – is found in higher-quality pieces from around 1955 through to the early 1970s and is today protected under CITES. Its dense, oily grain is sensitive to aggressive solvents; gentle cleaning and pure oils are the safe choice here. Walnut – particularly American Black Walnut – defines the American Modernism of George Nakashima through to the early Knoll collections. Walnut tolerates sanding somewhat better than rosewood, but demands even aftercare because its open pores reveal any inconsistency. Oak (Scandinavian, frequently soap-treated or limed), cherry, and maple also play a role. With all veneers the rule is: clarify the construction sequence (substrate, veneer, surface finish) before reaching for sandpaper.
Regional schools and designers
The philosophy of repair is closely tied to the origin of a piece. The Danish school around Finn Juhl, Hans J. Wegner, Arne Vodder, Kai Kristiansen, and Peter Hvidt favoured open-pored surfaces that allow re-oiling over decades. A sideboard by Arne Vodder for Sibast or a chair by Wegner for Carl Hansen & Søn can be refreshed with reasonable effort without altering its character. Swedish and Norwegian workshops such as Källemo, Dux, or Bruksbo worked in a similar manner, often with soap-treated pine or oak. American Modernism, by contrast – Herman Miller with George Nelson and Charles & Ray Eames, Knoll with Florence Knoll and Eero Saarinen – more frequently used closed lacquer systems, particularly for case goods of the 1950s. A pure oil treatment is out of place here; touch-up lacquers or shellac polishes are appropriate instead. Italian Modernism around Gio Ponti, Ico Parisi, or Osvaldo Borsani often features nitrocellulose lacquers and polish layers that require their own techniques. Anyone handling a German piece by Wilhelm Knoll, Egon Eiermann, or from the Hellerau workshops should bear in mind the local tradition of wax and shellac surfaces.
Authenticity and condition for collectors
For collectors, the decisive question is not whether a piece of furniture looks flawless, but whether its substance is intact and its history remains legible. Over-restoration – sanded-through veneer, replaced fittings, painted-over signatures or maker’s stamps – noticeably reduces a piece’s value on the auction market. Before any intervention, check that maker’s marks are preserved (such as the round mark of the Danish Furniture Control, stamps from France & Søn, Fritz Hansen, Cado, Herman Miller labels, or Knoll labels). Pay attention to original handles, hinges, and gliders; the original upholstery fabric, if retained, is also part of the provenance. Signs of use such as fine scratches, light water rings, or worn edges belong to the piece’s story and are allowed to remain visible. Document every restoration step with photographs before and after treatment. Anyone selling or insuring a piece should disclose its repair history just as openly as its provenance. A carefully maintained, visibly aged piece stands considerably above a fully overhauled one in the eyes of collectors.
At mid-centurydesigns.com we assess every piece of furniture for construction, veneer build-up, surface condition, and attribution before it enters the curation. Restorations are carried out in a manner appropriate to the materials and are transparently noted on each object’s data sheet, so that you as a collector or designer know exactly what substance you are acquiring and which patina belongs to the history of the piece.