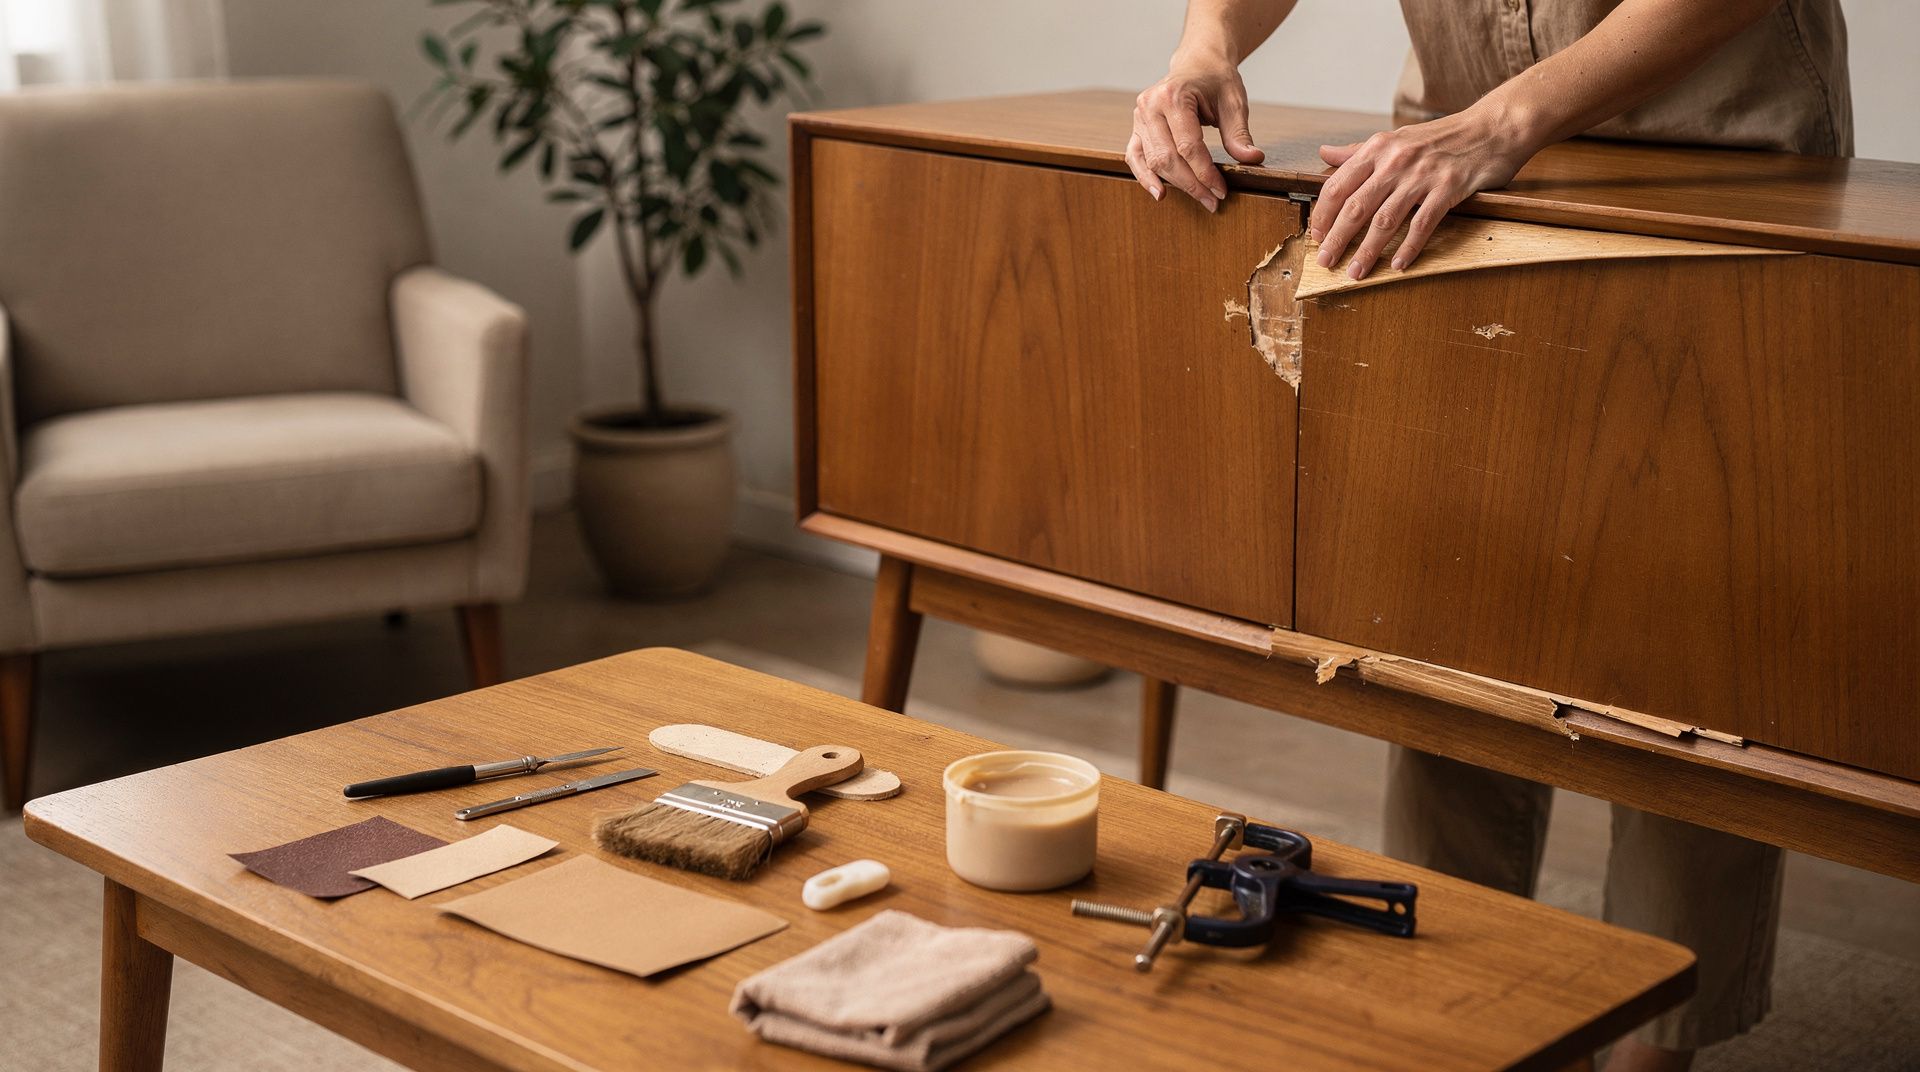
Repairing veneer damage: approach and context
Veneer is not a makeshift solution, but one of the oldest and most demanding techniques in furniture-making. In mid-century modern design in particular, knife-cut veneer became the true carrier of the design concept: it allowed precious, slow-grown timbers to be used across broad surfaces, grain patterns to be deliberately mirrored, and load-bearing structures to be built from more stable secondary timbers or plywood cores. Anyone who owns a sideboard by Florence Knoll, a cabinet from a Danish workshop, or an Italian piece of post-war modernism almost always has a veneered piece of furniture in their hands – not a solid one.
From this perspective, dealing with veneer damage is less a matter of craft surgery than a conservation decision. Bubbles, edge chips, grain cracks or loose corners are typical signs of ageing in furniture from the 1950s and 1960s – not flaws in the strict sense. They appear where old hot glues (usually bone or hide glue, and in industrial production often urea-formaldehyde) have reacted over decades to humidity, sunlight and heating air. Anyone carrying out repairs should therefore first understand what they are dealing with: veneer type, substrate material, original adhesive, surface build-up. Only then can one decide whether a bubble should be reactivated with heat and moisture, injected with thin fish glue, or closed with a veneer patch. Reversibility is the benchmark here – not perfection.
1. Characteristic materials and what they reveal about the repair
Modern furniture works with a clearly defined canon of veneers, and each one has its own requirements. Rosewood (Dalbergia, especially Rio and later East Indian rosewood) is oil-rich, brittle and prone to hairline cracks along the pore; aqueous bonding methods should be used with caution here, as moisture can raise the fine fibres. Teak is more forgiving, but its silica content gives it a slightly resistant surface to which fresh adhesives bond poorly if the bonding area is not carefully degreased with acetone. Walnut (both European and American, often used as pyramid or root veneer) is easy to work with, but discolours noticeably under UV, meaning patched areas may remain visibly lighter for months. Oak, frequently found in smoked or limed versions from Scandinavian workshops, requires precise colour-matching when filling. Add to these maple, birch, cherry and ash as lighter base tones, often combined with coloured laminates or enamelled metal frames.
Equally decisive is the substrate. Early Danish pieces often feature blockboard or laminboard with a pine core; later production furniture uses plywood or particleboard. With particleboard, caution is essential: once moisture penetrates, the core swells irreversibly, rendering any repair to the face veneer futile. The surface itself varies between oil and wax finishes (Scandinavian), nitrocellulose lacquer (American, Italian) and polyester (late 1960s). The build-up determines whether local repair and retouching is even possible without having to strip the entire surface.
2. Regional schools and designers whose veneer work defines the condition
The care of execution varies considerably by origin, and this also shapes the repair strategy. In Denmark, workshops such as Rud. Rasmussen, A.J. Iversen, Johannes Hansen and P. Jeppesen produced veneers of exceptional thickness with precisely mirrored grain for designs by Kaare Klint, Ole Wanscher, Hans J. Wegner and Finn Juhl. Such pieces can be restored with relative patience, because the veneer can often still be sanded without exposing the core. The more industrial range around France & Søn, Fredericia or Sibast uses thinner veneers; here, every sanding pass is a balancing act.
In Sweden, Josef Frank for Svenskt Tenn, Axel Einar Hjorth and the Malmsten workshops represent elegant walnut and birch work, often with inlaid details whose restoration demands experienced veneer hands. Italian post-war modernism around Gio Ponti, Ico Parisi, Osvaldo Borsani (Tecno), Paolo Buffa and Carlo di Carli frequently combines veneer with brass, coloured glass and lacquered surfaces; here the surface history is often more complex, having been reworked, overvarnished and in some cases re-veneered. The American school around Florence Knoll, George Nakashima, Edward Wormley (Dunbar), Paul McCobb and the Cranbrook alumni produced precisely crafted rosewood and walnut surfaces built on high-quality plywood cores. In Germany and Austria, manufacturers such as Wilhelm Knoll, Walter Knoll, WK Möbel and the successors to the Wiener Werkstätten represent a solid, often underestimated veneer tradition.
For repair purposes, this means: a Wegner cabinet will tolerate different interventions than a Ponti writing desk. Knowing the workshop context tells you where to source matching timber, what veneer thicknesses were original, and where a visible repair actually supports value better than a concealed rework.
3. Authenticity and condition from a collector’s perspective
For collectors, the condition of a veneered mid-century piece always involves weighing substance against patina. An original, minimally aged surface build-up is generally worth more than a perfectly re-laid surface. Small edge chips, neatly re-glued bubbles and subtly retouched missing areas barely diminish value if the work is reversible and professionally executed. Complete re-gluing with modern PU adhesives, veneers sanded below minimum thickness, or complete re-lacquering, on the other hand, permanently alter the character of the piece and are clearly identifiable during provenance examination.
When assessing a candidate, therefore, check systematically: veneer thickness at an edge using a loupe (original knife-cut veneers from the 1950s typically measure between 0.6 and 1.2 mm), glue joints at mitres, colour gradient between surfaces and edges (under UV, retouching gives itself away), consistency of grain direction on mirrored fronts, and condition of the substrate at the base and in drawers. A piece whose veneer is partially blistering yet entirely original often has more collector quality than an immaculate-looking one whose history has at some point been overwritten. Repair, in this sense, means stabilising the piece in its historical condition – not rejuvenating it.
At mid-centurydesigns.com, every piece is assessed against precisely these criteria before being added to our inventory. Veneer thicknesses, substrate materials, workshop markings and the nature of any prior restoration work are documented; visible and invisible interventions are stated openly, so that you as a collector or designer can decide which patina matches your standards and which piece belongs in your collection.
This article was generated automatically by an AI system. Disclosure pursuant to Article 50 of the EU AI Act.